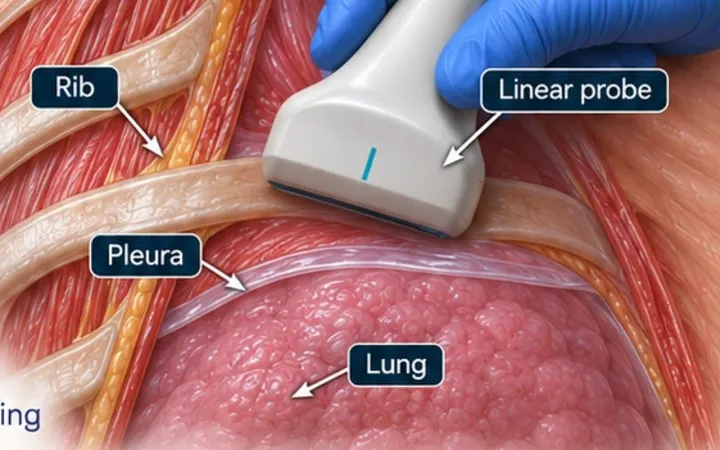
A diagnostic or therapeutic pleural aspiration is a common emergency procedure, and its complications come from the needle going somewhere other than the fluid: lung, liver, spleen or an intercostal artery. The British Thoracic Society advises ultrasound guidance for pleural procedures for fluid, because it reduces pneumothorax and organ puncture. A chest X-ray shows that fluid exists. Only the scan shows where it is safe to put a needle.
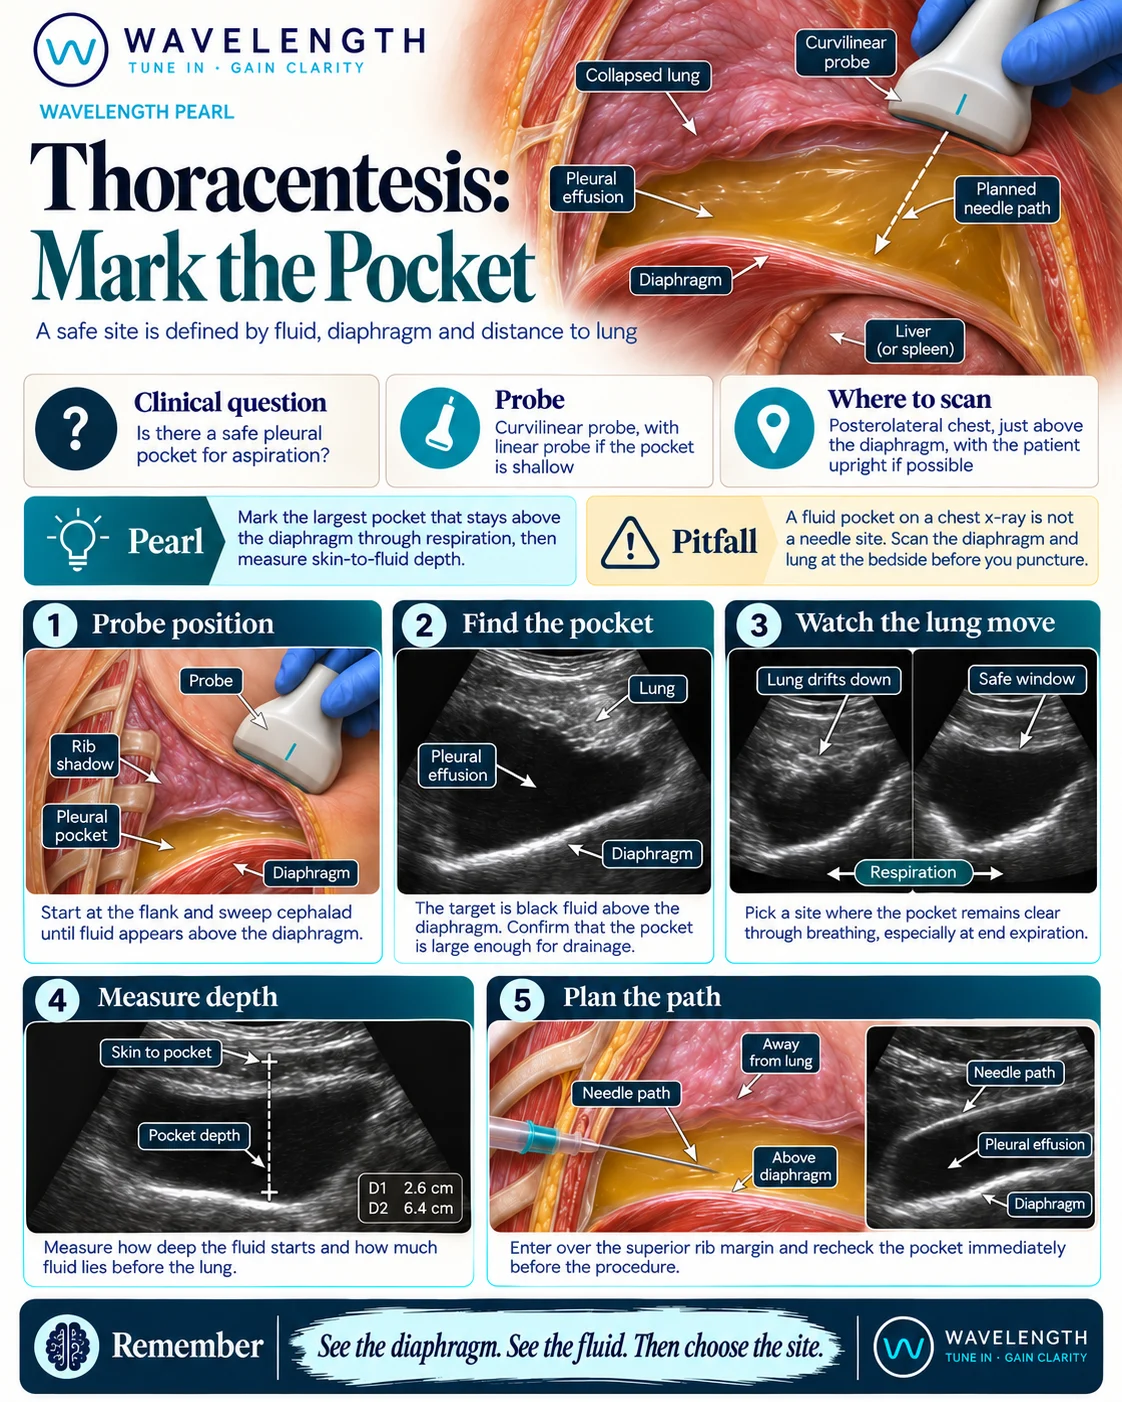
Scan images in the graphic are illustrations, not patient scans.
The scan
- Sit the patient upright, leaning forward over a table, in the position you will use for the procedure. If they cannot sit, use the lateral position with the effusion side down and scan from the back.
- Use the curvilinear probe, or the phased array between narrow ribs, on the posterolateral chest.
- Start low at the flank, find the liver or spleen and the bright diaphragm, then sweep upwards until fluid appears above it.
- Watch through several breaths. The lung drifts down into the pocket on inspiration, and the diaphragm, with the liver or spleen, rises on expiration.
- Choose the intercostal space with the deepest pocket that stays clear of lung and diaphragm throughout the cycle, usually at least one space above the diaphragm's highest point.
- Measure skin to fluid (how far the needle must go) and the depth of fluid at that point (your margin). Many operators look for at least 1 cm of fluid throughout breathing; more is safer.
- Check the space with colour Doppler for the intercostal artery, and mark the site. Aspirate straight away, without moving the patient, or under real-time guidance.
Reading the view
- Good window: a deep black pocket, the diaphragm well below it on every breath, and lung well away from the needle path.
- Unsafe window: a shallow pocket, lung sliding into the path on inspiration, or the diaphragm, liver or spleen rising into the path on expiration.
- Complex fluid: septations, debris or swirl change the plan. See Pleural effusion: simple or septated?.
Action
Follow your local pleural procedure and consent process. For a therapeutic aspiration, stop at about 1.5 litres, or earlier if the patient develops chest tightness or coughing, to reduce the risk of re-expansion pulmonary oedema. Send fluid for protein, LDH, pH (on a blood gas analyser, unless frankly purulent), glucose, microscopy, culture and cytology as the picture suggests.